


How to get lighter outdoors

We all know the classic image of the outdoors backpacker: heavy leather boots, wool socks, shorts and a massive backpack with too much stuff attached on the outside. That image of a heavy laden walker has changed over the last 20 years, especially with the introduction of minimalist footwear and ultra running, creating a whole industry of lightweight gear. Who wouldn’t like to be “lightweight” when outdoors? Being nimble, fast and not dreading putting on the backpack after a much-needed break; but the lightweight community tends to be harsh on ways cut weight, including some myths like cutting toothbrushes in half.

Lightweight Gear
My move to lightweight gear was not overnight, and really a conscious move either; I just started to upgrade gear here and there as it got old and worn, or just couldn’t perform to my needs, and getting lighter gear made sense. As I started to go into a full lightweight gear transformation, doing some serious research and too much reading was inevitable. The opinions and perspectives about lightweight gear are endless, including the definition of what lightweight gear is. Not long after starting my research I found there is also ultra lightweight (UL) and super lightweight (SUL), each claiming to do it “right.” But first, what is lightweight?
As a generally accepted rule, lightweight gear is usually seen as gear that weighs under 20lbs (9kg) of dry bag (without water and food) for an overnight trip. The idea behind an overnight bag is that the marginal addition of gear for more than one night is minimal (an extra pair of socks and underwear).

When considering how to begin the lightweight gear transformation it can be a little overwhelming, trying to figure out what is the most important gear to buy and where to spend the most money. Usually, the widely recommended best starting point is to attack your 3 heaviest items: tent, sleeping bag and backpack. Those three can weigh up to 6.5lbs (3kg) each, but with the lightweight option will not weigh more than 6.5lbs (3kg) combined. I would add your cooking system to this list of initial items since it can be relatively cheap and you can shave off quite a bit of weight when upgrading. But now comes the obvious question: I have limited funds and can only buy one at a time, which one should I get first?

My advice: start with a sleeping bag, then look at your cooking system, then the tent and backpack last. Replacing your backpack last has to do with the fact that each backpack has a weight that is most comfortable to carry it at, and lightweight backpacks are aimed to carry lower weight. The sleeping bag should be first because your sleep is one of the most important things you do to make sure you can repeatedly hike day in and day out.

So let’s go over my recommended steps to go lightweight:
- Upgrade your sleeping system first: a light and warm sleeping bag and a good light sleeping mat.
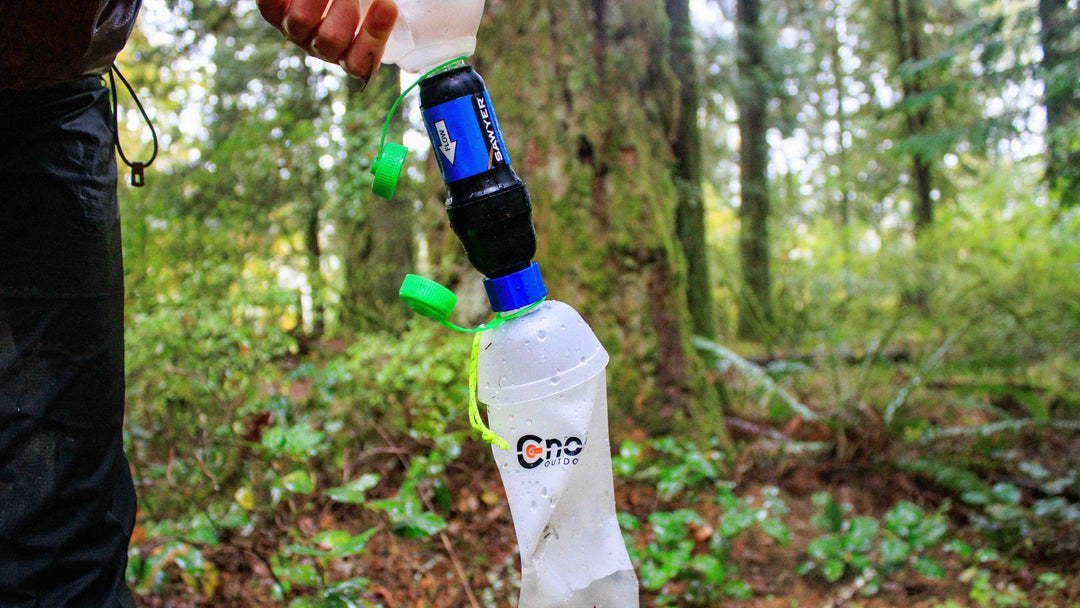
- Your cooking system: find what works for you and how you can get the most efficient cooking to match your taste – there is no point on having a stove that only boils water when you like to make risotto in the outdoors.
- Shelter: tent, tarp, bivvy, or any other shelter you choose, now is the time to cut 4-6lbs (2-3kg) from what you are carrying. Your shelter will probably be your most expensive purchase, so start saving in advance.
- Backpack: by now you will have cut more than your share of weight from what goes inside the backpack, now it is time to lighten the bag itself. Modern internal frame bags can weigh 4.5-9lbs (2-4kg) by themselves, so moving to a 2lbs bag will make everything feel better. Aim for a smaller volume; if so far you have been carrying 70 liters of too much stuff, a 45-55 liter pack is all you needed with your upgraded lightweight gear.
- Clothing: this can be done in parts, but hoisting around 5 lbs of waterproofs that may or may not be used is not nice. Replace your clothing with lighter, more functional clothes and stop carrying endless sets!
- Everything else: at this point, you need to spend more money per weight lost – another $10 to cut another 2g off the spoon etc. Don’t go wild here despite the temptation from all the shiny gadgets, as you need to focus on the big things first.

Learning more
For the best step by step guide, including full explanations about the philosophy behind each upgrade, I recommend reading Mark’s “Ultralight Makeover” from Backpacking North. I think it is one of the best guides out there and it really helped me focus on how I manage my lightweight gear transformation.
If you are serious about getting into the deep world of lightweight gear (you’ve been warned, it is addictive!), head over to backpackinglight.com for the best information and discussions. You do need to register (free) to join the discussion on the forum and pay ($20 a year) to read all the articles, but it is the best authority on lightweight gear that I know of.

That is all you need to get into the spirit of lightweight gear and hiking. No more dreaded grunts when lifting your backpack, just thoughts about how far you can walk today, how fast will you be doing so and how much you can see and enjoy.


Leave a comment